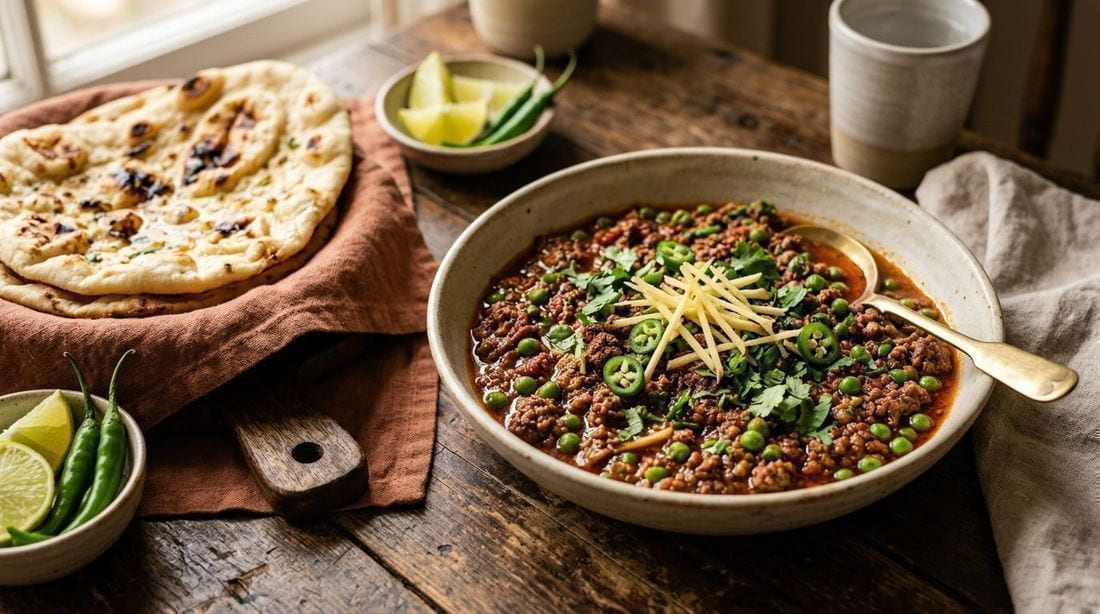
Ingredients
- 1 lb ground beef (85/15)
- 1 tablespoon vegetable oil
- 1 tablespoon chili powder
- 2 teaspoons ground cumin
- 1 teaspoon smoked paprika
- 1/2 teaspoon dried oregano
- 1/2 teaspoon salt
- 8 small corn tortillas
- 1 small white onion, finely diced
- 1/2 red onion, thinly sliced (for quick pickles)
- 1/2 cup fresh cilantro, chopped
- 1 lime, cut into wedges
Instructions
Start the quick pickled onions: toss the sliced red onion with the juice of half a lime and a pinch of salt. Set aside to pickle while you cook, tossing occasionally.
Heat the oil in a large skillet over medium-high heat. Add the ground beef and cook, breaking it up with a spatula, until browned, about 5 minutes.
Drain excess fat if there is more than a tablespoon in the pan, then sprinkle the chili powder, cumin, smoked paprika, oregano, and salt over the beef.
Stir the spices into the meat and let it sizzle undisturbed for 2–3 minutes so the edges get crispy and caramelized, then stir and cook 2 minutes more. Splash in 2 tablespoons of water and scrape up any browned bits.
While the beef finishes, char the tortillas: toast them directly over a gas flame for 10–15 seconds per side, or dry-fry in a skillet until blistered and pliable. Wrap in a clean towel to keep warm.
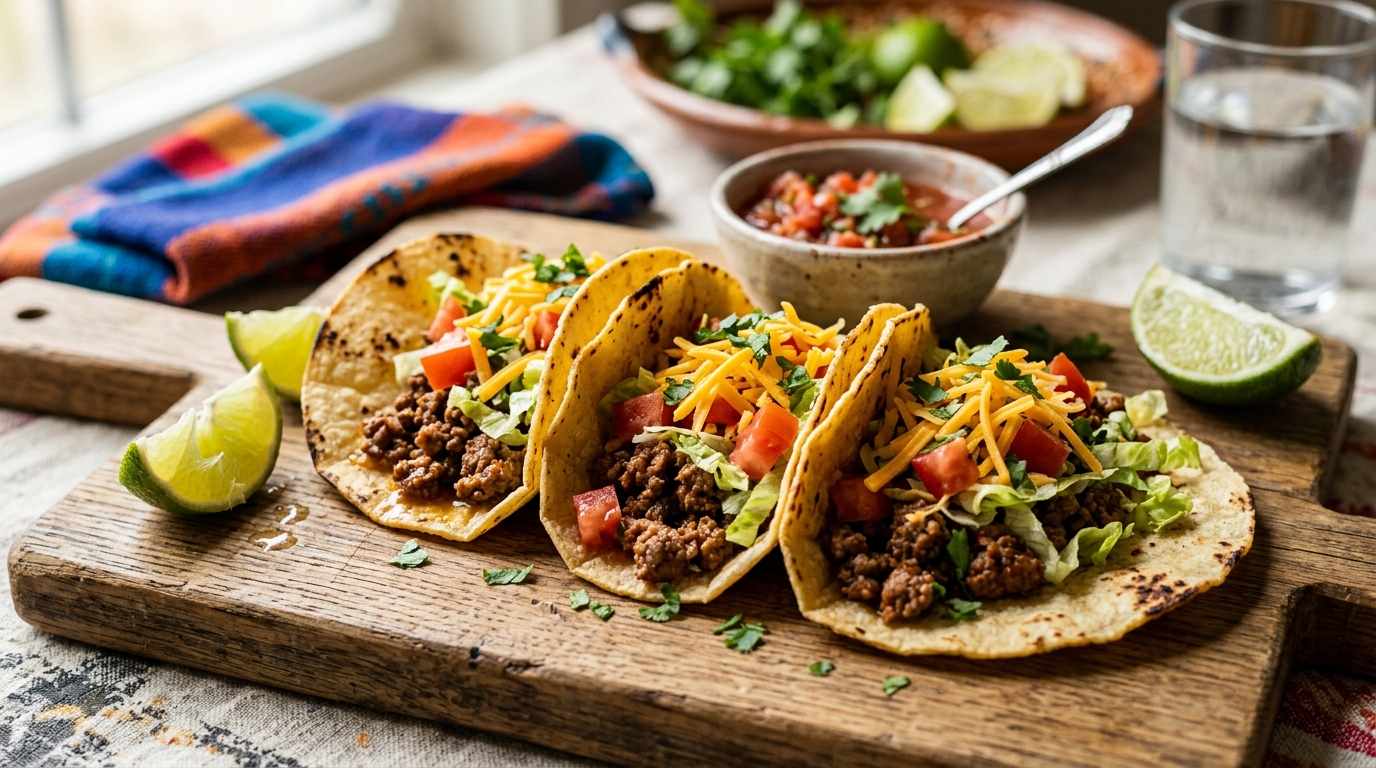
Build the tacos: divide the beef among the warm tortillas and top with pickled onions, diced white onion, cilantro, and a big squeeze of lime.
Serve immediately with your favorite hot sauce or salsa on the side.
Tips for Success
- Do not drain all the fat — a little renders into the spices and carries flavor. Just pour off anything beyond a tablespoon.
- Let the beef sit undisturbed to get crispy bits. Stirring constantly steams the meat instead of browning it.
- Warm tortillas are non-negotiable. A cold tortilla cracks; a charred one is half the experience.
Perfect pairings
These recipes belong on the same table — cook them together for a full spread, or swap in a variation next time.
Frequently Asked Questions
Can I use flour tortillas?
Of course, though corn tortillas give the authentic flavor and hold up better to juicy fillings. Either way, warm them first.
How do I make it spicier?
Add a chopped chipotle in adobo with the spices, or finish with your favorite hot sauce. A pinch of cayenne in the seasoning also works.
Can I make the beef ahead?
Yes. Cook the seasoned beef up to 3 days ahead and reheat in a skillet with a splash of water to loosen it.
What toppings go well?
Crumbled queso fresco, diced avocado or guacamole, shredded lettuce, and a spoonful of salsa verde are all excellent.
Why is my taco meat bland?
Two fixes: let the spices toast in the rendered fat for the full 2–3 minutes, and add the splash of water so they dissolve into a sauce instead of sitting on the meat as dry powder. Taste and add salt — ground beef needs more than you think.
Why is my beef gray and mushy instead of browned?
The pan is overcrowded or you are stirring constantly. Cook the beef in a single layer, leave it alone for a few minutes between stirs, and the moisture will evaporate so browning can happen.
Can I use ground turkey or chicken?
Yes, but add a tablespoon of oil — lean poultry has almost no fat to render. Cook it the same way and pull it a little early so it does not dry out.
Affiliate disclosure: this page contains affiliate links. If you buy equipment through them, Cuisinety earns a small commission at no extra cost to you — it keeps the site free. Picks follow the same research-backed standards as our gear guides. Read ourfull affiliate disclosure.
Browse All Recipes →
Love this recipe? Pin it!
Save it to your Pinterest board so you can find it later.
Pin this Recipe