Ingredients
- 4 red bell peppers (about 1 1/2 lb total)
- 4 ripe tomatoes (about 1 1/2 lb), quartered
- 4 cloves garlic, minced
- 1/3 cup olive oil, plus more for serving
- 1 teaspoon ground cumin
- 1 teaspoon paprika
- 1/2 teaspoon salt, plus more to taste
- 1/4 teaspoon black pepper
- 1/4 teaspoon chili flakes (optional)
- 1/3 cup chopped fresh cilantro, plus more for serving
- 2 tablespoons chopped fresh parsley
- 1 tablespoon fresh lemon juice
- Warm bread (Msemen or crusty flatbread), for serving
Instructions
Char the peppers: place the whole peppers under a hot broiler, directly over a gas flame, or on a grill, turning often with tongs, until the skin is blackened and blistered all over, 10–15 minutes.
Steam-peel: drop the charred peppers into a bowl, cover tightly with a plate or plastic wrap, and let them steam for 10 minutes — the trapped steam loosens the skin. Rub or peel the skin off, then seed and slice the flesh into thin strips. Do not rinse them; you want the smoky flavor.
Meanwhile, start the tomatoes: heat the olive oil in a wide skillet over medium heat. Add the garlic, cumin, paprika, and chili flakes (if using) and cook for 1 minute until fragrant.
Add the quartered tomatoes with a pinch of salt. Simmer uncovered for 10–12 minutes, stirring occasionally, until the tomatoes break down into a thick, jammy sauce almost all the way through.
Stir in the pepper strips and the remaining salt and black pepper. Cook 5 more minutes over medium-low heat until the peppers soften into the sauce — the texture should be silky and cohesive, not crunchy, but each pepper strip should still hold its shape.
Taste and adjust: more salt, more cumin, or a squeeze of lemon to brighten. Stir in the cilantro and parsley and the lemon juice.
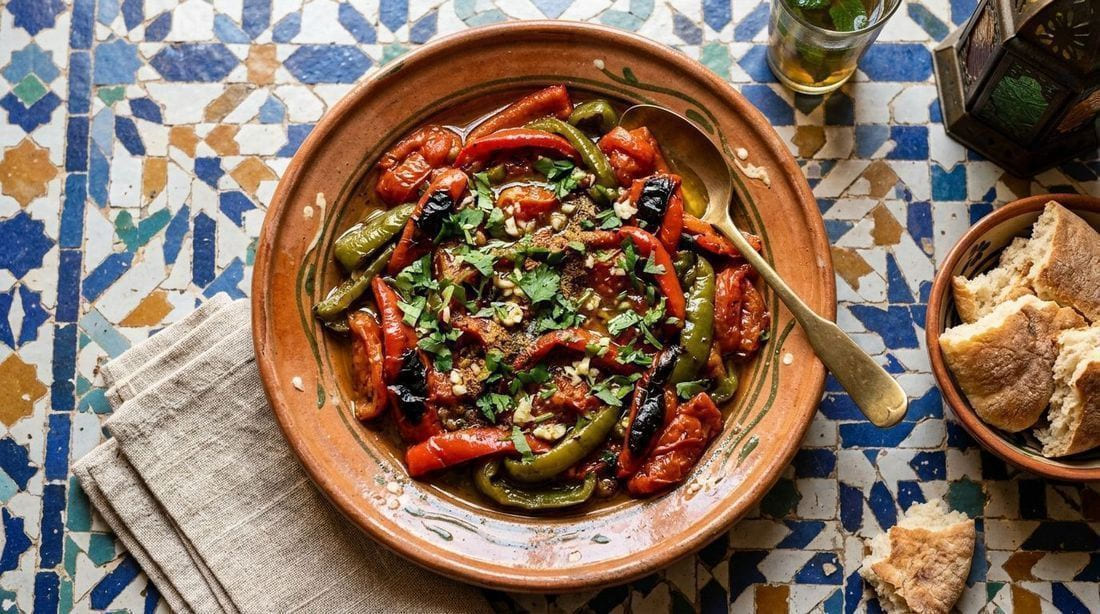
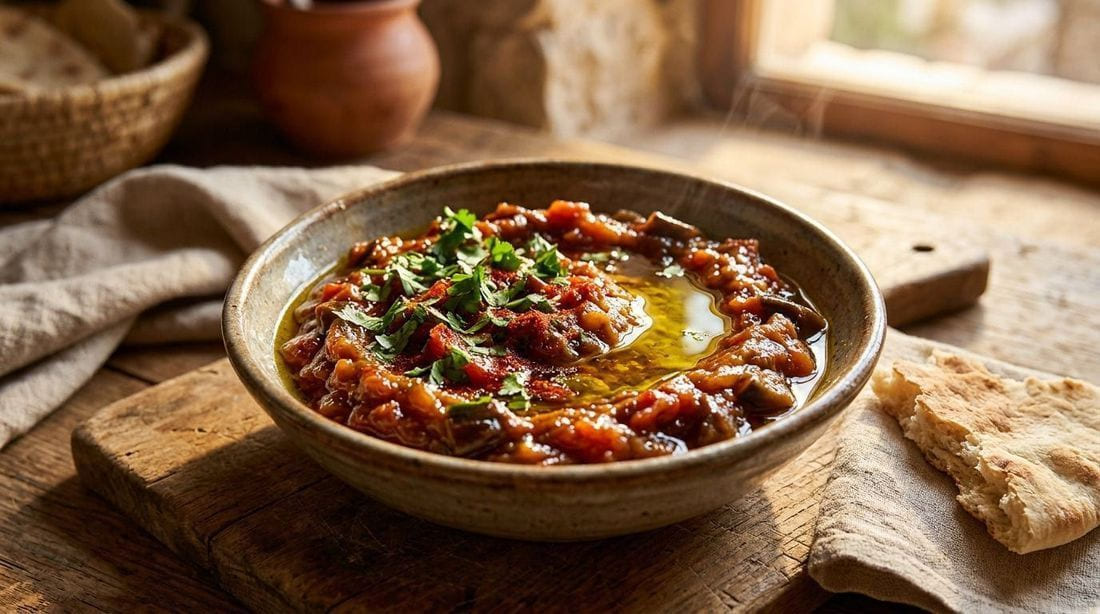
Rest off the heat for 5 minutes (it thickens as it sits), then transfer to a shallow bowl. Drizzle generously with olive oil, shower with extra cilantro, and serve warm or at room temperature with Msemen or any warm flatbread for scooping.
Tips for Success
- The steam-then-peel step is a trick, not a chore. A covered bowl for 10 minutes lets the skin slip off in one piece, so you keep every smoked bit of flesh and lose nothing to the sink.
- Give the tomatoes their full simmer. Taktouka should be jammy and cohesive, and that only happens if the tomatoes cook down to nearly a sauce before the peppers go in. If it looks thin at the end, simmer 5 more minutes uncovered.
- It is a make-ahead hero. Like all Moroccan cooked salads, taktouka deepens overnight — the peppers drink up the garlic and cumin. Make it a day ahead and refresh with a splash of olive oil and lemon before serving.
Cook's Notes: what to watch for
- The pitfall: Rinsing the charred peppers. The soak-and-peel works without water, and rinsing washes away the smoky flavor the whole salad is built on. Adding the pepper strips before the tomatoes have cooked down to jam is the other mistake — you get soup, not taktouka.
- The step that matters most: Simmering the tomatoes fully into a thick, jammy sauce before the pepper strips go in. The peppers then soften into that base rather than swimming in it, giving the silky, cohesive texture with strips that still hold their shape.
- The quirk: The covered 10-minute steam after charring is not a pause — it is what makes the skins slip off in whole pieces so no flesh is lost scraping. And the salad thickens further during the 5-minute off-heat rest, so do not over-reduce it in the pan.
Perfect pairings
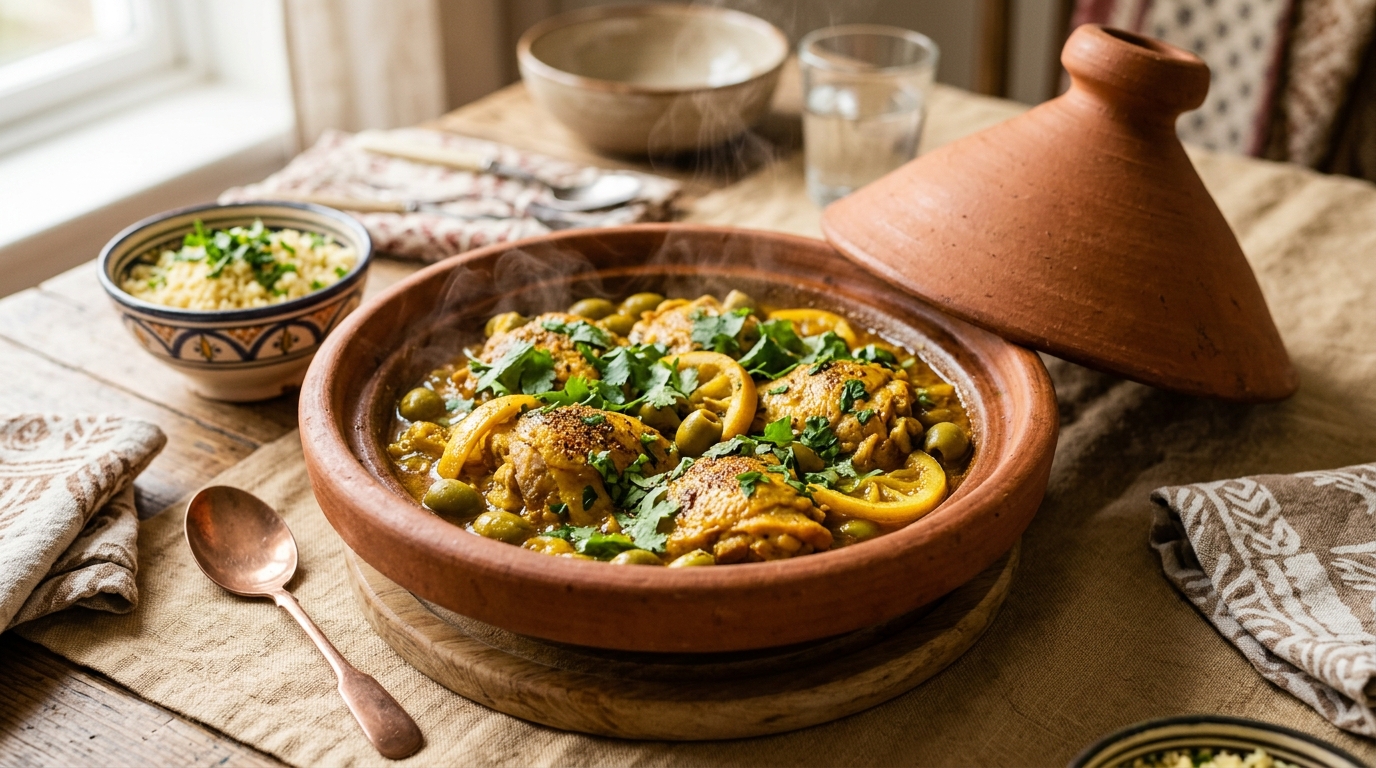
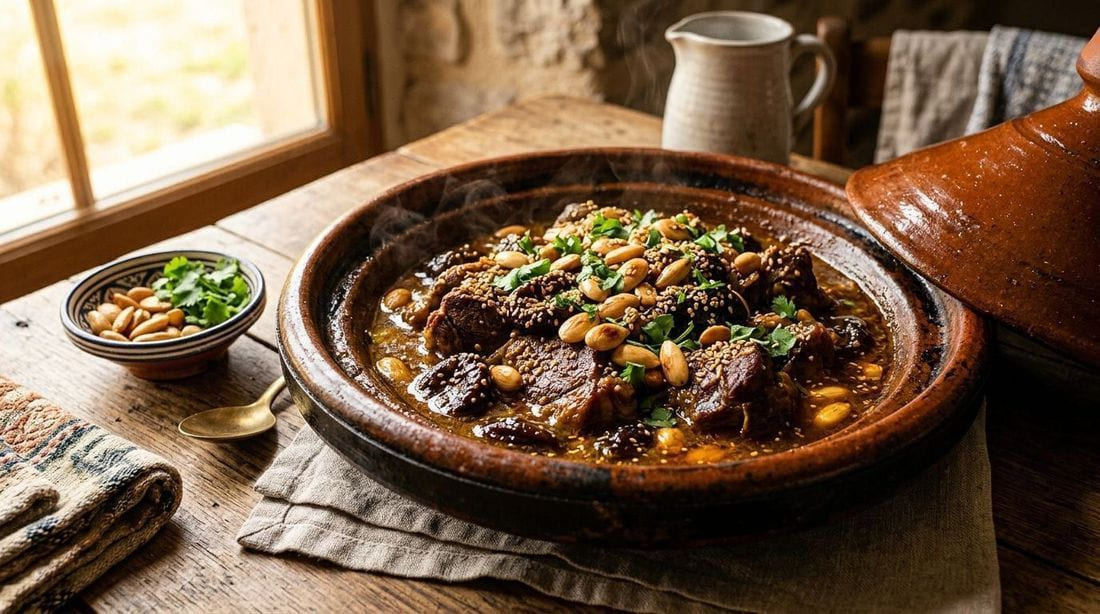
Taktouka is the brightest bowl on the Moroccan table — serve it beside a tagine, pile it on bread, or pair it with its smoky cousin zaalouk.
Frequently Asked Questions
What do I serve with taktouka?
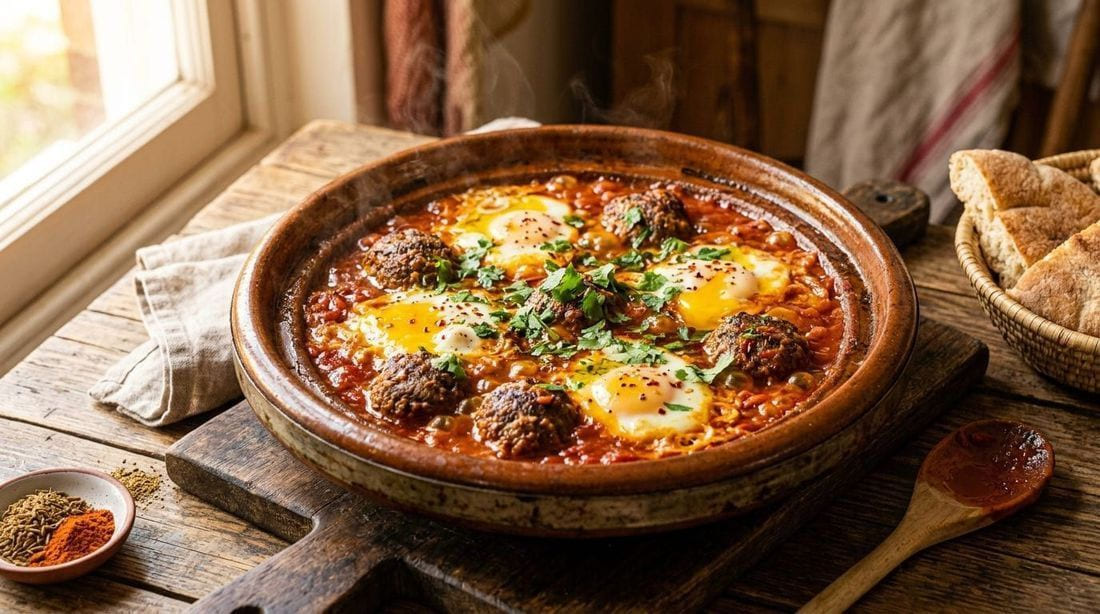
Warm bread, first and always — Msemen or any crusty flatbread for scooping. It is the classic tablemate for grilled kefta, fried eggs, a tagine, or as part of a mezze spread with Zaalouk, olives, and bread. It also makes a great sandwich or toast topper.
Is taktouka served hot or cold?
Both, like zaalouk: wonderful warm from the pan, excellent at room temperature on a mezze table, and even good cold from the fridge. It keeps about 4 days covered in the fridge — bring it back to room temperature and freshen with olive oil and lemon before serving.
Can I use jarred roasted peppers instead of charring my own?
Yes, in a pinch: drain 2 jars of roasted red peppers well, pat them dry, and skip straight to the tomatoes step. You lose some of the charred smokiness, so add 1/2 teaspoon of smoked paprika with the spices to close the gap. Homemade charred peppers are worth it when you have the time.
Can I make this ahead or freeze taktouka?
Yes. It keeps 4 days in the fridge and also freezes well for up to 3 months in an airtight container — thaw overnight in the fridge and reheat gently. Like most olive-oil salads, the flavor deepens over a day or two. Add the fresh herbs after reheating, not before, so they stay bright.
Why is my taktouka watery instead of thick?
Two usual causes: peppers that released their water with nowhere to go, and a lid that stayed on. Taktouka reduces uncovered — the water from the peppers and tomatoes has to cook off for the sauce to thicken and the olive oil to separate at the edges. Use a wide pan so the evaporation happens fast, keep the heat at a steady medium (a hard fry scorches the tomatoes before they melt), and give it the full 25-30 minutes, stirring now and then. If it is still loose at the end, push the mixture to one side, tip the pan, and let the watery liquid pool where you can spoon it off — then cook 5 minutes more. It also thickens noticeably as it cools.
Why does my taktouka taste bitter or burnt?
The char went too far, or the garlic hit the pan too early. Charred pepper skins should come off under cold running water after charring — if the blackened skin stays on, it turns the whole salad acrid. And when the recipe says the garlic goes in with the peppers and tomatoes, keep the heat moderate: garlic fried hard in oil browns in a minute and drags bitterness across the whole pan. If the pot already tastes bitter, a pinch of sugar and a squeeze of lemon at the end will rebalance it, but peel the char properly next time and the problem never starts.
Affiliate disclosure: this page contains affiliate links. If you buy equipment through them, Cuisinety earns a small commission at no extra cost to you — it keeps the site free. Picks follow the same research-backed standards as our gear guides. Read ourfull affiliate disclosure.
Browse Moroccan Recipes →
Love this recipe? Pin it!
Save it to your Pinterest board so you can find it later.
Pin this Recipe Cuisine