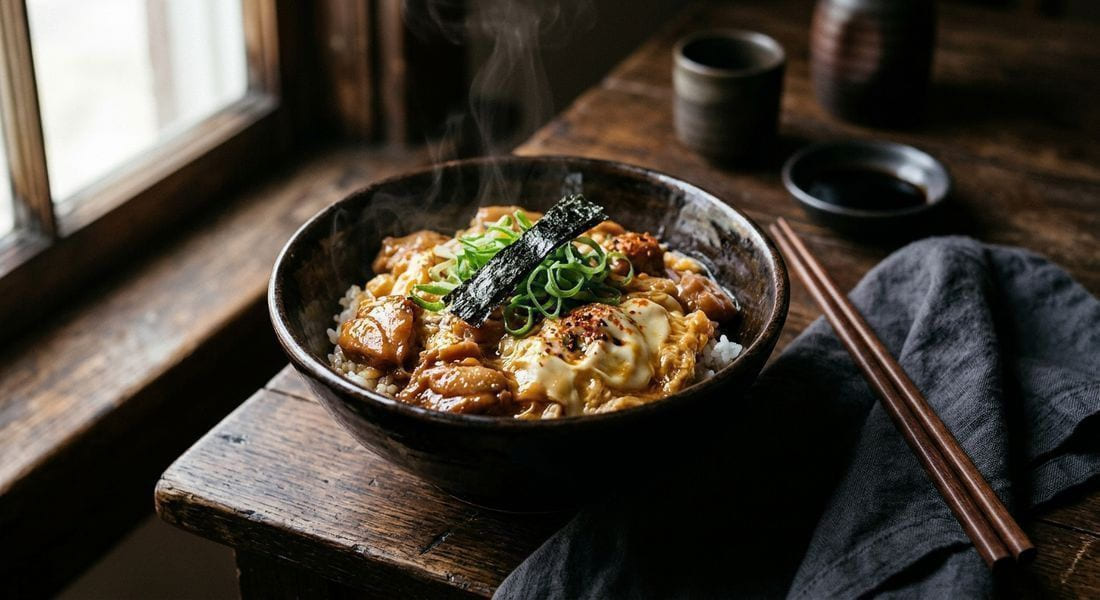
Oyakodon translates to 'parent-and-child rice bowl' — the parent being the chicken, the child the egg, and the dish being the rare recipe where both get cooked together in a single, humble pot. It is the great Japanese weeknight comfort bowl: a shallow pan of seasoned dashi broth, thin-sliced chicken thigh, and onion simmering until tender, then a stream of egg poured over the top in two stages so the first layer sets into a custard while the second stays barely, gloriously soft — never a rubbery scramble. The seasoned broth — dashi, soy, mirin, and a spoon of sugar — reduces into a light sauce that soaks into hot rice as the whole thing slides out of the pan. It is fast enough for a Tuesday, gentle enough for a sick day, and proof that the simplest Japanese cooking is often the best: four seasonings, one pan, and a bowl of rice waiting underneath.
3 large eggs, lightly beaten — just a few strokes, so ribbons of yolk and white still show
1 small yellow onion, halved and sliced into thin half-moons (about 1 cup)
3/4 cup dashi (or 3/4 cup water + 1/2 teaspoon dashi granules, stirred in)
3 tablespoons soy sauce
2 tablespoons mirin
1 tablespoon sake (or dry white wine, or water)
2 teaspoons sugar
1/4 cup mitsuba leaves or sliced scallion greens, for garnish
Shichimi togarashi, for serving (optional)
Instructions
Make the seasoned broth: stir the dashi, soy sauce, mirin, sake, and sugar together in a small bowl until the sugar dissolves. Taste it — it should be boldly salty-sweet, because it will be diluted by the rice.
Simmer the onion: pour the seasoned broth into an 8–10 inch (20–25 cm) skillet — a small pan matters, see tips — and scatter in the onion. Bring to a simmer over medium heat and cook 2 minutes, until the onion softens and turns translucent at the edges.
Cook the chicken: lay the chicken pieces into the broth in a single layer and press them down gently so they are submerged. Simmer 4–5 minutes, spooning the hot broth over the pieces once or twice, until the chicken is just cooked through and the broth has reduced slightly.
First egg layer: give the beaten eggs a quick stir and pour about half of them in a thin, even stream over the chicken and onion — do not stir, and do not pour them into the broth underneath. Cover the pan and cook 30–60 seconds, until that first layer sets into a pale custard.
Second egg layer: pour the remaining egg over the top, cover again, and cook 30–60 seconds more, until the eggs are softly set — custardy and slightly jiggly in the center, never firm, never rubbery. Pull the pan off the heat the second it looks done; carryover will keep setting the eggs as you serve.
Serve: divide the hot rice between two deep bowls. Tilt the pan and slide the chicken, egg, and sauce over the rice so the juices drape down the sides, then scatter with the mitsuba or scallion greens and a dusting of shichimi. Eat immediately — oyakodon is a now dish, and the soft eggs wait for no one.
Tips for Success
Beat the eggs lightly — a few strokes only. The dish needs visible ribbons of yolk and white; that two-tone look is the signature of properly made oyakodon. Overbeaten eggs turn the topping into a uniform, rubbery sheet — the most common way to ruin an otherwise perfect bowl.
Use a small pan. Oyakodon is a thin layer of egg over the chicken, and thin layers cook fast — the whole egg stage takes about two minutes in the right-size pan. In a 12-inch skillet the egg spreads into a papery film that overcooks before the center sets; an 8–10 inch pan gives you a custard with body. Japanese donabe or oyakodon pans exist for exactly this reason.
Two egg pours, never one. The first pour sets into a cooked base that keeps the second pour suspended on top, so you get a layered custard instead of scrambled egg soup. Cover the pan each time — trapped steam tops the eggs set gently from above as well as below.
Do not stir after the eggs go in. Stirring breaks the custard into curds and shreds the soft texture that makes oyakodon oyakodon. The only intervention is the tilt-and-slide at the end, and even that should be gentle: the whole point is the egg sliding over the rice as one soft, wobbling blanket.
Perfect pairings
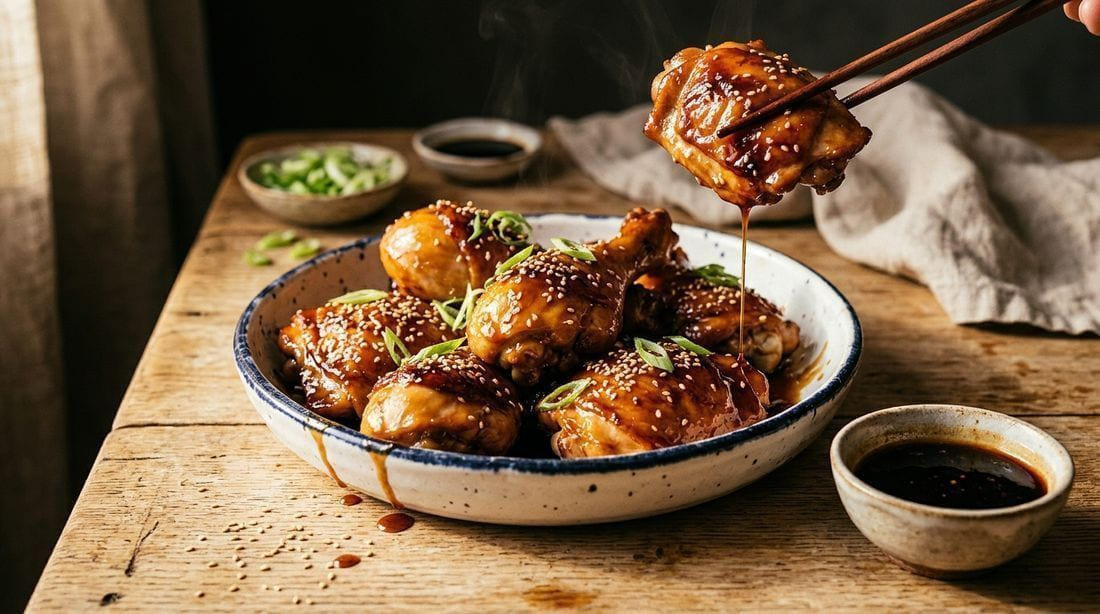
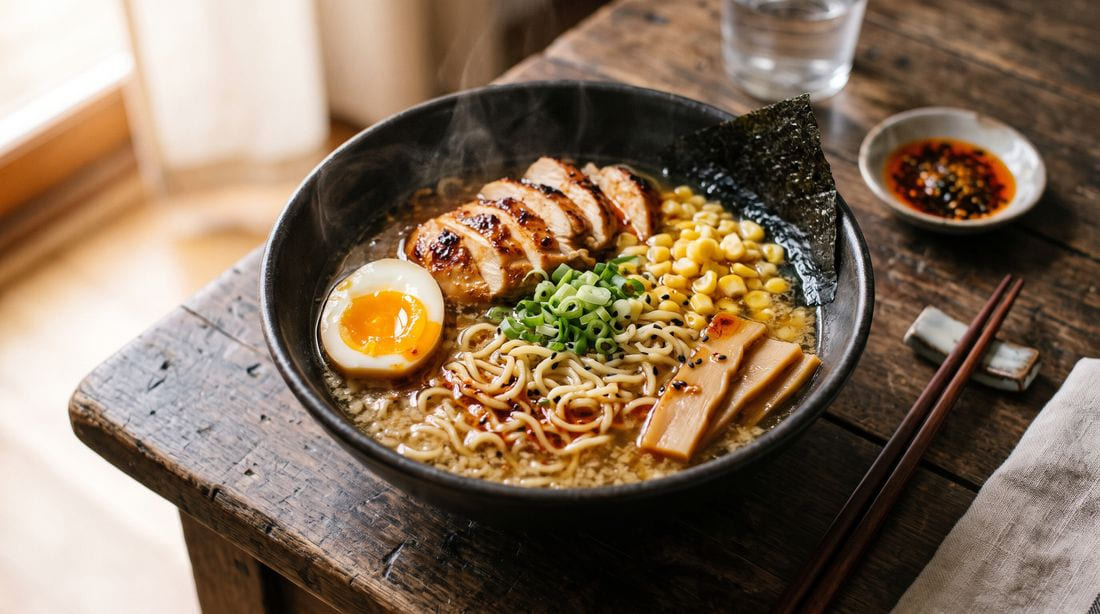
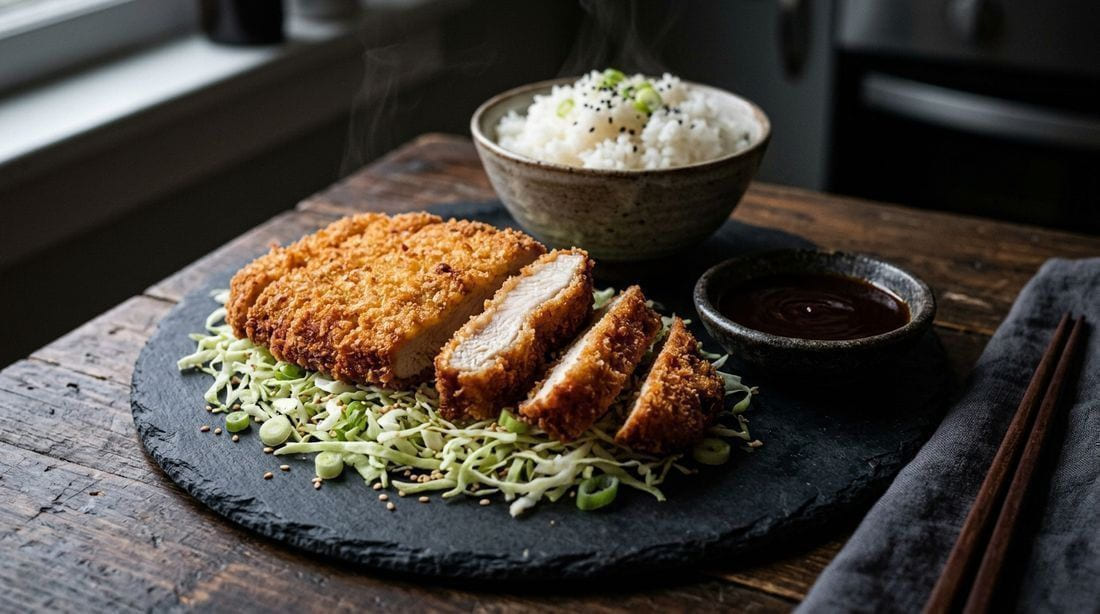
These recipes belong on the same table — cook them together for a full spread, or swap in a variation next time.
Dashi is the kelp-and-bonito stock at the base of nearly all Japanese soup and simmered dishes — it tastes clean, savory, and faintly of the sea. Instant dashi granules (hondashi) are the honest home standard: 1/2 teaspoon dissolved in 3/4 cup hot water is exactly this recipe's shortcut. No dashi at all? Use 3/4 cup low-sodium chicken stock plus a splash of water — the bowl becomes a little rounder and less clean, but still deliciously itself.
Is it safe to eat softly set eggs?
The eggs here are cooked to a soft custard — the first layer is fully cooked, and the second reaches well above 160°F (71°C) as it sets — so the dish is safe for healthy adults. That said, the egg is deliberately not a hard scramble, so if you are pregnant, immunocompromised, or feeding young children, use pasteurized eggs (sold in cartons) and cook the second pour a full 60–90 seconds until no jiggle remains. Everything else stays exactly the same.
Can I use chicken breast instead of thighs?
Yes — slice it thinly (about 1/4 inch) across the grain, and simmer only 3 minutes instead of 4–5, just until opaque and cooked through. Breast has no fat to spare, so pull it off the heat the moment it is done and let the broth do the resting. Thighs are the traditional choice and almost impossible to dry out; breast asks you to pay attention but rewards it.
Affiliate disclosure: this page contains affiliate links. If you buy equipment through them, Cuisinety earns a small commission at no extra cost to you — it keeps the site free. Picks follow the same research-backed standards as our gear guides. Read ourfull affiliate disclosure.